Exploring Astro DB
Astro just released Astro DB, a fully managed database integrated with the framework itself. I created a views counter for my blog, and loved the experience.

Astro DB
Yesterday, the Astro team announced Astro DB and Astro Studio. Astro DB is a fully-managed SQL database integrated directly with the framework, and Astro Studio is a hosted interface to Astro DB. Personally, I find this development significant for a few reasons:
- Astro becomes more “batteries included”
- Local DX involving running a local database gets much easier
- It’s just SQL so you can take it out at any moment and move to any other DB provider. The package for working with Astro DB, @astrojs/db, includes Drizzle ORM so migration to a different provider should be relatively painless
- Astro DB’s free tier is generous but not outrageously so (yes, it’s a jab at PlanetScale, I’m still salty); paid usage is very reasonably priced
- It’s easier than ever to add “advanced” dynamic features to static sites
You may have a different set of reasons why it’s worth talking about Astro DB, but we can probably agree that in this space, this is great news. The only thing to keep in mind is that it’s still in “Early Preview” stage, so I wouldn’t recommend relying on Astro DB for critical production workloads.
Anyway, as soon as I saw the announcement, I jumped right in and tried to implement a feature for my blog: a basic page views counter. How hard could it be?
Page views counter
I admit, it’s not a very creative idea. My goal was to explore Astro DB, see how it works, so that I can actually use it for something fun later. So, page views counter it is.
The plan was simple:
- Whenever somebody visits any page on my website, I’d record their visit in the database
- To make this counter a little more resilient, I’d also record hashed user IP address and their hashed user agent (I don’t want to collect or store actual IPs and user agents, but I do want to be able to identify whether somebody is just hitting refresh or actually visiting a page)
- I also need to record that page is being visited
- I want to display the view counts per page
- Finally, I want to display popular blog posts based on the number of page views
Multiple improvements to this basic approach can be made. But for my exploration purpose, this is quite enough.
Configuration
First things first. I’d need to install, enable, and configure @astrojs/db. There are different ways to install Astro integrations, and I usually prefer the automated one:
pnpm astro add db
This command installs the package, updates astro.config.mjs, and creates a new directory called db with config.ts and seed.ts files in it. That’s about it. The project is ready, let’s dive in.
Here’s what my config.ts looks like:
import { defineDb, defineTable, column } from 'astro:db';

const Visits = defineTable({
  columns: {
    id: column.number({ primaryKey: true }),
    page: column.text({ default: 'home' }),
    content: column.text({ default: "none" }),
    pagination: column.number({ default: 1 }),
    visitor_ip_hash: column.text(),
    visitor_user_agent_hash: column.text(),
    visitor_count: column.number({ default: 1 })
  }
});

// https://astro.build/db/config
export default defineDb({
  tables: { Visits }
});
Pretty self-explanatory: we import defineDb from astro:db so that we can define our database, defineTable so that we can define this database’s tables, and column, you guessed it, so that we can define this table’s columns. There’s more we can do, but for now that’s all we need.
Now, if you’ve ever worked with a local database, you know you now need to actually start the local database, create tables, and seed it. Well, with Astro DB, you only need to do the last step - seed the db. And need is really want: you’re not required to seed the database, it just makes life easier down the line.
import { db, Visits } from 'astro:db';

// https://astro.build/db/seed
export default async function seed() {
	await db.insert(Visits).values({
		page: 'home',
		pagination: 1,
		visitor_ip_hash: '30963a87dd481e4366237ed9cb37f001e24bcb865833be0036f7f081176b9812',
		visitor_user_agent_hash: 'c08ae1ccbe7296f4d6589acb026c5a0379bb07f1915cca8829d4cead13211e26',
		visitor_count: 10
	});
}
This file will create a record in the local database (you can seed remote database as well!); whenever you restart your development server (astro dev), the database gets reset and re-seeded. How cool is that?!
What’s important here is that you now have access to Visits and db anywhere in your project, and can just use them right away!
Accessing Astro Studio
Before moving forward with the views counter implementation, let me quickly note a few things about local and remote databases.
When you develop locally, the database is reset every time you restart the development server.
When you’re happy with the schema, you can push this schema to the remote database, the one that’s going to be used when you deploy your project. The CLI is pretty straightforward here: you login to Astro Studio, link your local database to a (new) project, push local changes to this remote DB.
astro db login # Follow prompts, login with Github

astro db link # Again, follow prompts, create a new project or link local db to an existing one

astro db push # Tell the remote DB what you want it to look like
As an added feature, you could also seed the remote database:
astro db execute db/seed.ts --remote # "db/seed.ts" here is just a path to the file where your seed data is.
Oh, and you can use the remote database locally! Just be very careful.
astro dev --remote
Now, go to Astro Studio, log in, and click around. You’ll see your new project and its database. Notice, that I have SQL Console enabled: if you need to just run a few SQL commands, it’s a nice thing to have.
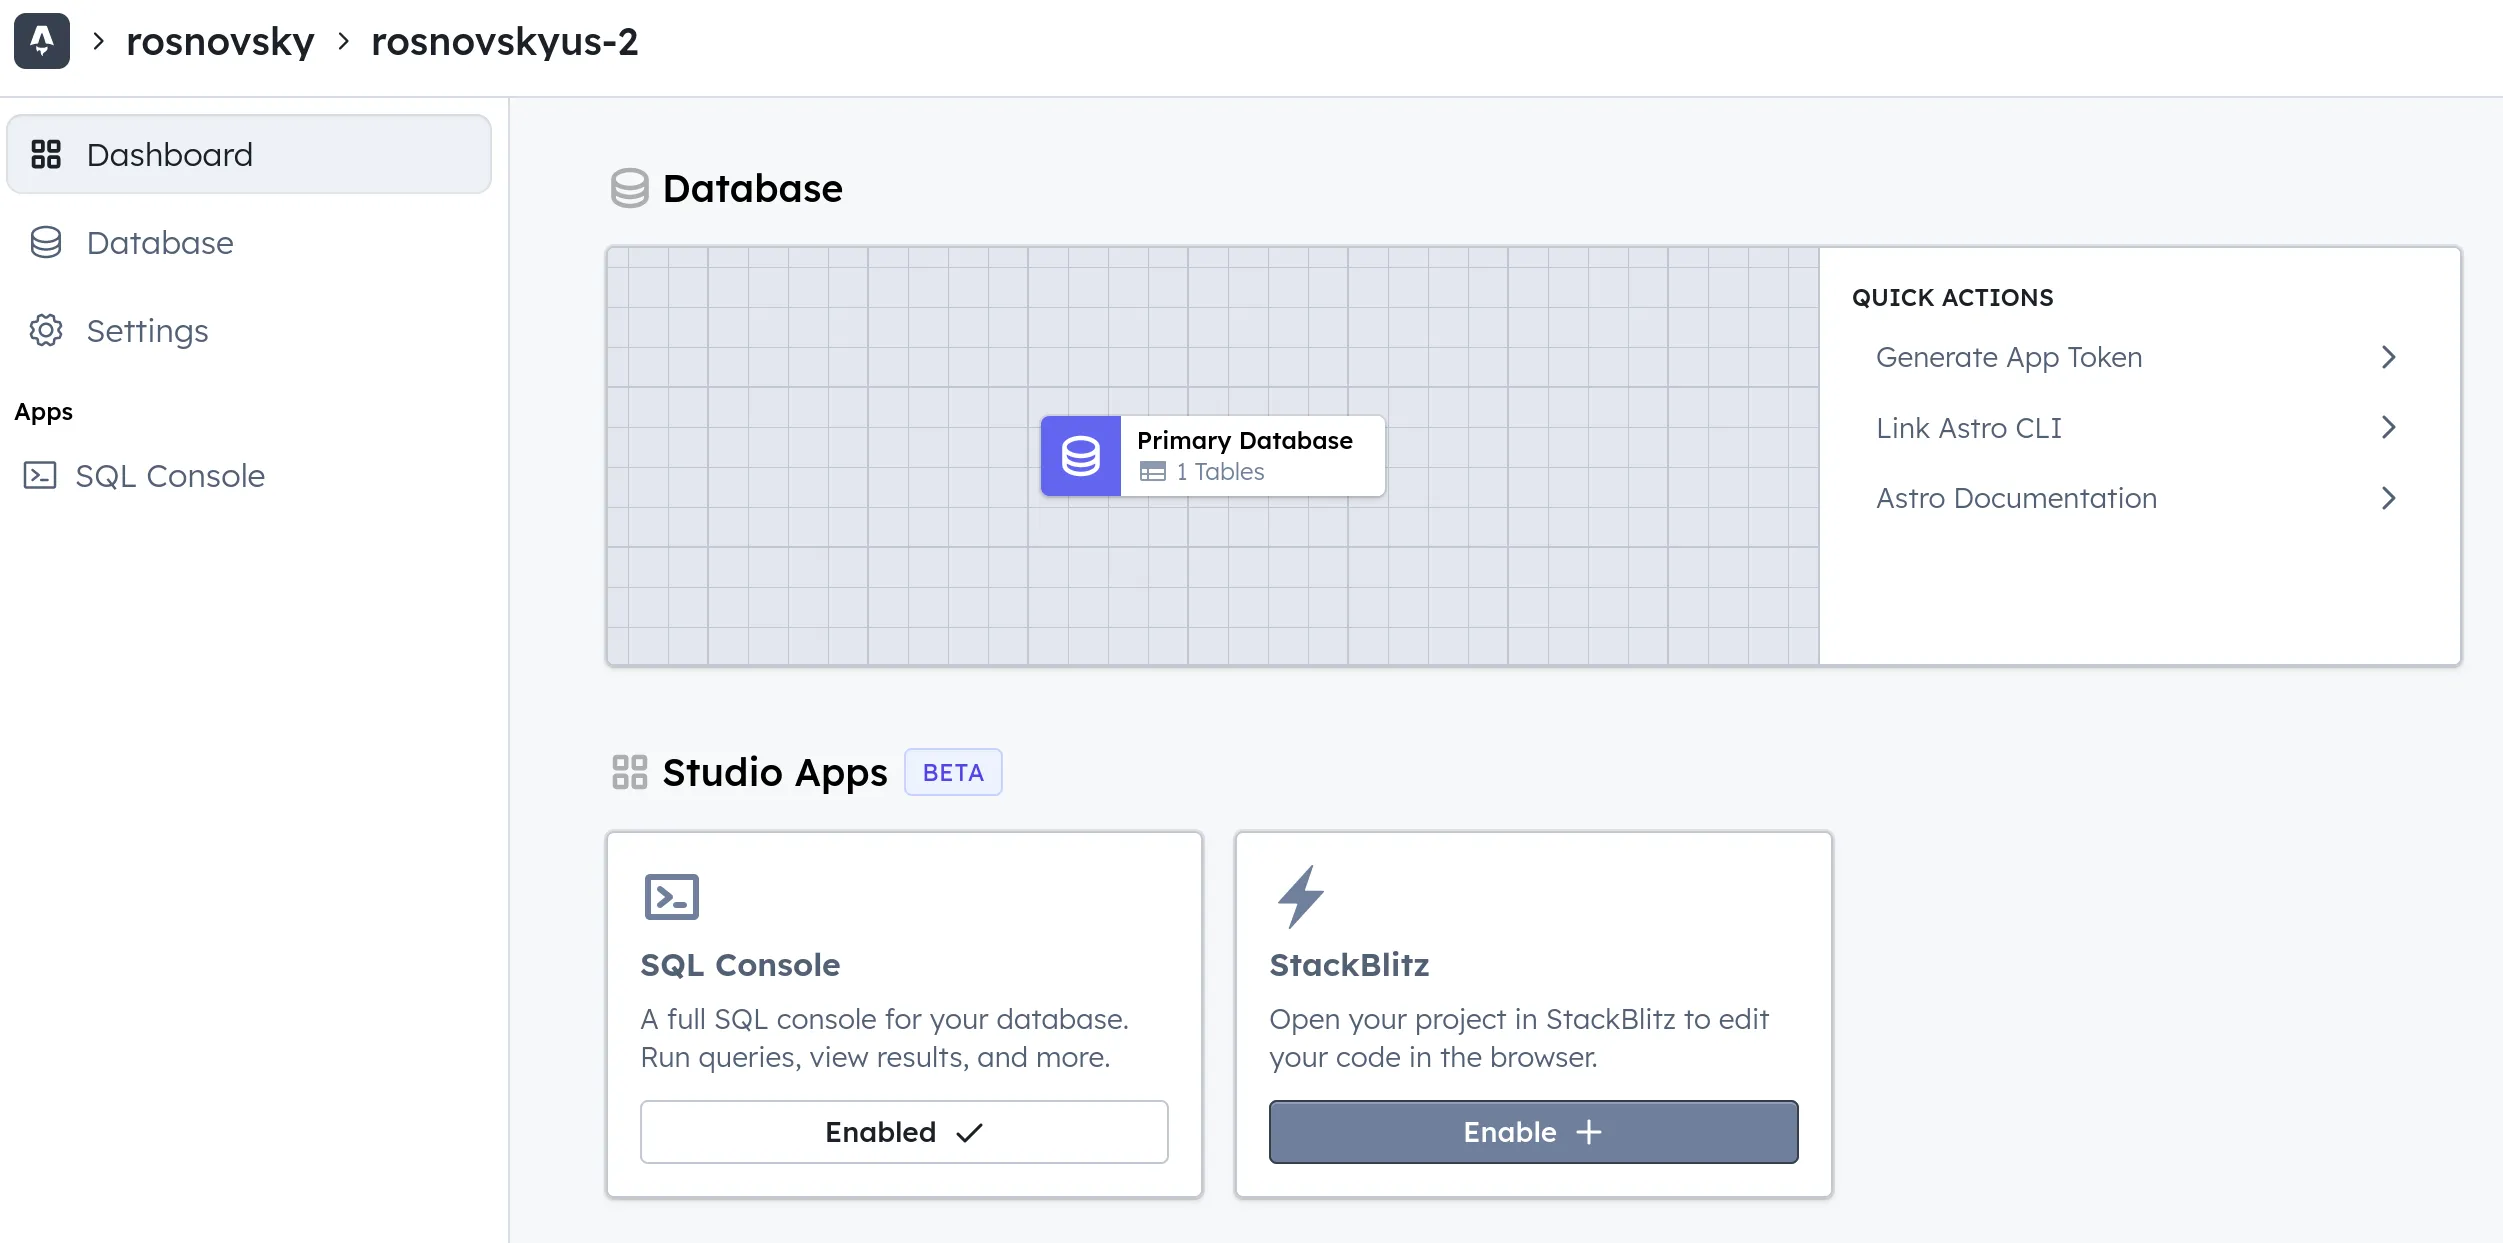
As you can see, Astro Studio is pretty limited in what you can see and do there, but it does cover all the bases and again, it’s an “Early Preview”. What I use Studio the most for is inspecting records, and it does a pretty good job here.

Implementation
Aaaanyway, after I got my Astro DB all set up, I got to the actual implementation of the page views counter. I don’t want to bore you with the details that are very specific to my particular website, so I’d boil it down to more generic steps.
The first step is to figure out how we are going to register visits. There are multiple ways to approach this depending on what Astro rendering mode you’re using:
- in
staticorhybridmode, you could load a counterpixel(a 1x1 pixel image pointing to an endpoint) - in
serverorhybridmode withexport const prerender = false, you could make a call directly to the endpoint that counts visits
My website is primarily static; I use hybrid mode so that I do have an option to disable prerendering when I need to. It actually poses some quite specific challenges that I won’t go into here, but just keep this in mind: if something doesn’t work the way you expect it to work, check your rendering mode first :)
I’ve added my pixel to the footer of my site along with a Views component:
// Footer.astro
---
const currentPage = Astro.url.pathname.split('/') // naive "give me the current page url" kind of thing
currentPage.shift() // oh, and remove the leading `/`
---

<Image
  src={`/visitors/register?page=${currentPage}`}
  loading="eager"
  aria-hidden="true"
  alt="tracking pixel"
  width="1"
  height="1" />
<Views client:only currentPage={currentPage} />
Now, I just need to actually register visits. That’s where the magic happens!
// src/pages/visitors/register.ts

export const prerender = false;

import crypto from 'node:crypto';
import { db, Visits, eq, and } from 'astro:db';
import type { APIRoute } from 'astro';

export const GET: APIRoute = async (data) => {
  const hash = (data: any) => crypto.createHash('sha256').update(data).digest('hex');

  const userAgent: string = data.request.headers.get('User-Agent') || '';
  const ip: string = data.clientAddress;
  const pagePathName: string = data.request.url.split('=')[1];

  const pagePaths = pagePathName ? pagePathName.split(',') : [];

  // This is lazy and dumb, ignore it
  let page = "home";
  let content = "none";
  let pagination = 1;


  if (pagePathName.length === 0) {
    page = 'home'
  } else if (pagePaths.length === 1) {
    page = pagePaths[0]
  } else if (pagePaths.length === 2) {
    page = pagePaths[0]
    content = pagePaths[1]
  } else if (pagePaths.length === 3) {
    page = pagePaths[0]
    content = pagePaths[1]
    pagination = Number(pagePaths[2])
  }
  // The end of "this is lazy and dumb, ignore it"

  const userAgentHash = hash(userAgent);
  const ipHash = hash(ip);

  const [visits] = await db
    .select()
    .from(Visits)
    .where(
      and(
        eq(Visits.visitor_ip_hash, ipHash),
        eq(Visits.visitor_user_agent_hash, userAgentHash),
        eq(Visits.page, page),
        eq(Visits.content, content),
        eq(Visits.pagination, pagination)
      )
    )

  if (visits) {
    await db
      .update(Visits)
      .set({
        visitor_count: visits.visitor_count + 1
        })
      .where(
        eq(Visits.id, visits.id))
  } else {
    await db
      .insert(Visits)
      .values({
        page,
        content,
        pagination,
        visitor_ip_hash: ipHash,
        visitor_user_agent_hash: userAgentHash
    })
  }

  return new Response(JSON.stringify(visits), {
    status: 200,
    headers: {
      "Content-Type": "application/json"
    }
  });
}
I first check if a visit from this prticular visitor to this specific page has been registered already, and if so, I increase the count (I should also be checking for a timestamp here, come to think of it). If it’s a brand new visit, I do db.insert.
Now, how do we display the number of view? Here’s what my Views.tsx looks like. NB: I’d very much prefer for this “dynamic” component to be an Astro component, alas it has to be (p)react (I’m using the official preact integration).
// Views.tsx
import { Suspense, lazy } from 'preact/compat'
const ViewsCount = lazy(() => import('./ViewsCount'))

export const Views = ({ currentPage }: { currentPage: string[] }) => {
  return (
    <Suspense fallback={<div>Loading Views...</div>}>
      <ViewsCount currentPage={currentPage} />
    </Suspense>
  )
}
And the actual counter:
// ViewsCount.tsx

import { useEffect, useState } from 'preact/hooks'

const ViewsCount = ({ currentPage }: { currentPage: string[] }): JSX.Element => {
  const [views, setViews] = useState()

  useEffect(() => {
    const fetchViews = async () => {
      const visitsData = await fetch(`/visitors/count?${currentPage}`)
      const visits = await visitsData.json()

      setViews(visits)
    }

    fetchViews()
  }, [currentPage])

  return (
    <span className="mt-8 text-base text-slate-400/90 md:mt-0">Views: {views}</span>
  );
}

export default ViewsCount;
The combination of these two components results in a “Loading Views…” text while the view counter is fetching it’s number from the DB, and the number of views when it’s ready:

Finally, how is the count number gets returned from the database?
// src/pages/visitors/count.ts

import { Visits, db, eq, and } from 'astro:db';
import type { APIRoute } from 'astro';

export const prerender = false;

export const GET: APIRoute = async (data) => {
  const currentPage = data.request.url.split('?')[1].split(',')

  const visitsData = await db
    .select()
    .from(Visits)
    .where(
      and(
        // this is the part where some wierd specifics of my site come into play
        eq(Visits.page, currentPage[0] === '' ? "home" : currentPage[0]),
        eq(Visits.content, currentPage[1] ? currentPage[1] : 'none')
      )
    )

  const visits = visitsData.reduce((acc, item) => {
    return acc + item.visitor_count
  }, 0)

  return new Response(JSON.stringify(visits), {
    status: 200,
    headers: {
      "Content-Type": "application/json"
    }
  });
}
And there you have it. But we are not done yet!
Popular posts
With all this in place, I can now display not only latest posts but also most popular (by views). Note that I make sure to remove the three latest posts that are already featured on the page so that I don’t get identical posts in Latest and Popular sections.
---
import Container from '@components/Container.astro'
import BlogGrid from '@components/blog/BlogGrid.astro'
import Underline from '@components/illustrations/Underline.astro'
import { db, Visits, ne, and, desc } from 'astro:db'
import { getSortedPosts } from '@utils/posts'
import type { Post } from '@types'
import { getCollection } from 'astro:content'

const featuredPosts: Post[] = (await getSortedPosts()).slice(0, 3)

const popularPostsByVisits = new Set(
  await db
    .select()
    .from(Visits)
    .where(
      ne(Visits.content, "none")
    )
    .orderBy(
      desc(Visits.visitor_count))
    .limit(6)
    .then((rows) => (rows.map((row) => {
      return row.content
      })
    ))
)

const featuredPostsSlugs = featuredPosts.map((post) => post.slug.split('/').pop())

const popularPostsSlugs = Array.from(popularPostsByVisits).filter((slug) => !featuredPostsSlugs.includes(slug)).slice(0, 3)

const allPosts: Post[] = await getSortedPosts();

const popularPosts = allPosts.filter((post) => popularPostsSlugs.includes(post.slug.split('/').pop()!))
---

<section
  class="overflow-hidden bg-white py-16 dark:bg-slate-900 sm:pt-24 lg:pt-28"
>
  <Container>
    <h2>Popular Posts</h2>
    <BlogGrid posts={popularPosts} />
  </Container>
</section>
All done!
Well, now we are done. Setting up Astro DB was easy, it’s easy to use, and it works as expected. I bet there are some awesome improvements coming, but in the meantime, Astro DB is my go-to for all my Astro-based projects.
How would you use Astro DB? Any cool ideas? :)